VirtualBox is a tool that helps you to run virtual machines on your host operating system. This means that in your main Windows operating system, you can install virtual machines like Ubuntu, CentOS, RHEL, etc. Let’s learn to install Ubuntu 24 on the VirtualBox.
- Prerequisite
- Download the Ubuntu 24 Operating System Image
- Install Ubuntu 24 on the VirtualBox
- Select RAM and CPU processor configuration
- Virtual Hard Disk
- Starting the Ubuntu 24 Virtual Machine
- First-time installation process for Ubuntu 24
- Login to Ubuntu 24 Desktop
- Learn More
Prerequisite
You should have VirtualBox Installed on your Operating System. You can follow the below post for the installation of VirtualBox on your machine
Download the Ubuntu 24 Operating System Image
Ubuntu installation comes in two forms
- Desktop: This contains the Graphical user interface of Ubuntu
- Server: This only contains the Ubuntu Operating System in Server Mode
we will install the Ubuntu 24 Desktop version. You need to open the Ubuntu releases page and then choose version 24
https://releases.ubuntu.com/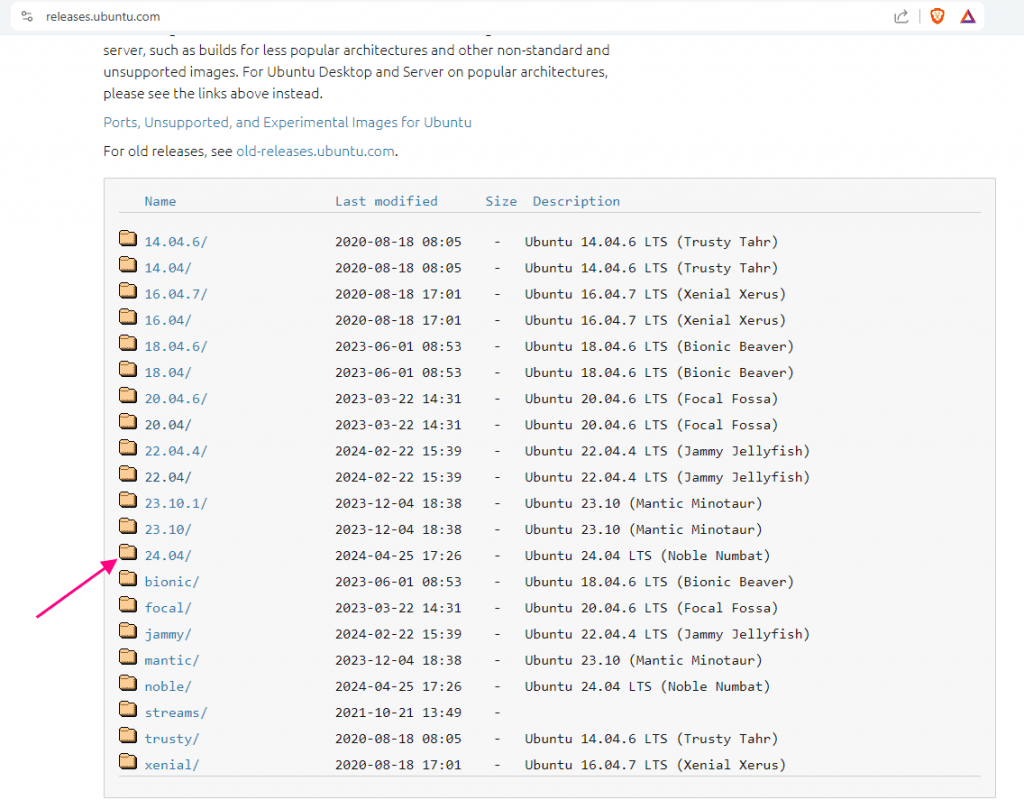
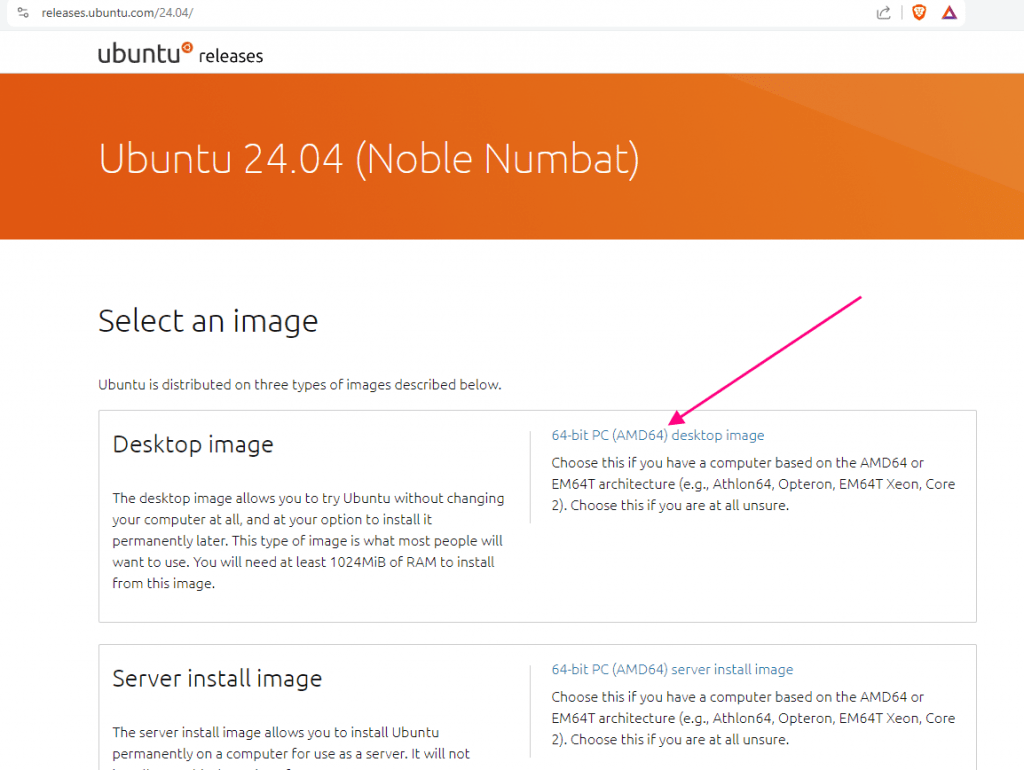
This will take you to another screen to select the Desktop or Server Version.
- You need to choose the Desktop Version
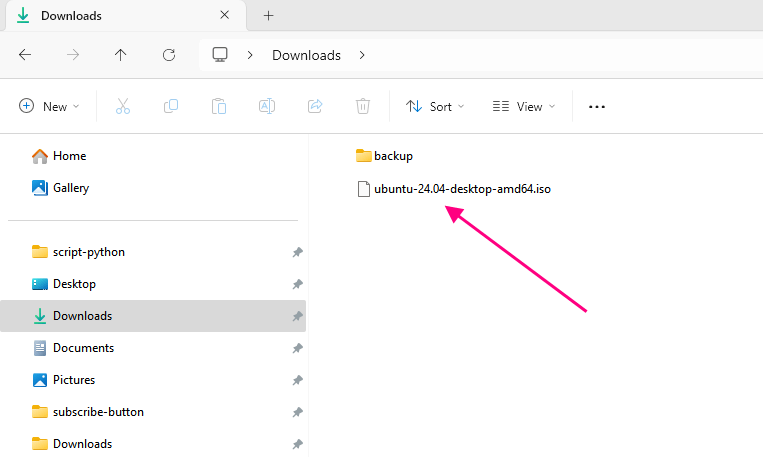
- Windows will ask you to save the file in the Downloads folder.
- You can select another location for downloading the file. I am selecting the Downloads folder which is the default location for downloading.
The file will be downloaded in the Downloads folder of the Windows
Install Ubuntu 24 on the VirtualBox
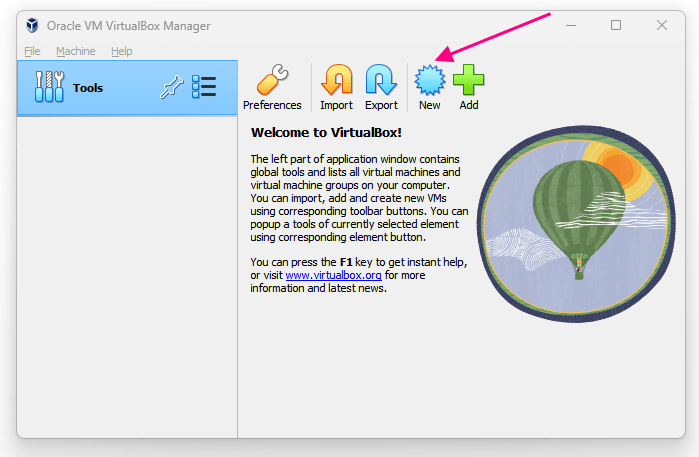
Open your VirtualBox Application and click on New. This will prompt you to enter different details of your Virtual Machine
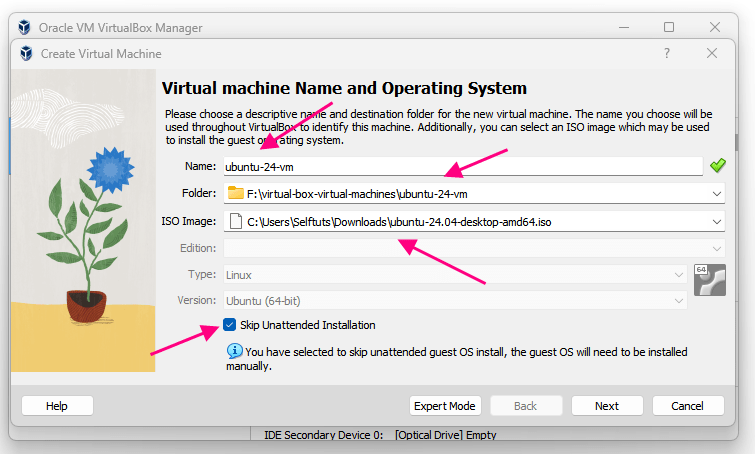
- Name: You can provide whatever name you want to give to your Virtual machine
- In our case, we will give ubuntu-24-VM
- Folder: Choose the Folder where you want to store the Virtual Machine Data
- In our case, I have created a folder in F drive and I will choose that
- ISO Image: Choose the ISO image that we downloaded in the previous step. It is saved in the Downloads folder
- Skip Unattended Installation: Check the box
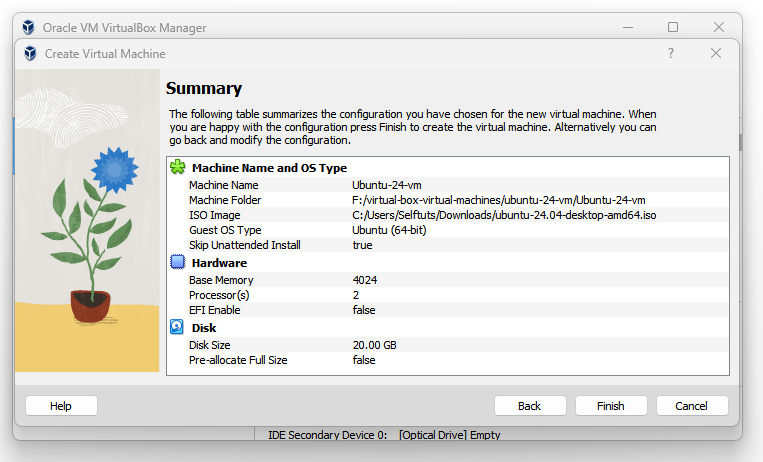
Once you select the ISO image then Type and Version will automatically get detected. Click on Next to start the installation process.
Select RAM and CPU processor configuration
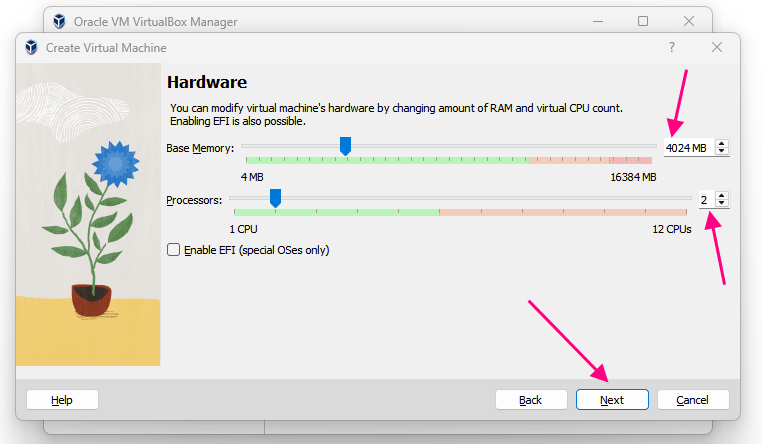
The Virtual machine will run on the host Operating System so it becomes very important to provide the configuration on how much RAM and CPU of the Host Operating System will be used by the Virtual Machine.
These settings are entirely based on your system configuration so you can tweak it based on your need. I will be using the below settings
- RAM: 4GB
- CPU: 2
Virtual Hard Disk
Every operating system needs a Hard Disk to run where it will store the system files and other documents. VirtualBox will create a Virtual Hard Disk that can be used by the Ubuntu 24 Virtual Machine.
I am giving the Size as 20GB. This setting is entirely based on your system configuration. You can tweak this based on your Need.
Note: Increasing the size of a Virtual Hard Disk is a difficult and time-consuming process. so choose the size of the Virtual Hard disk slightly high.
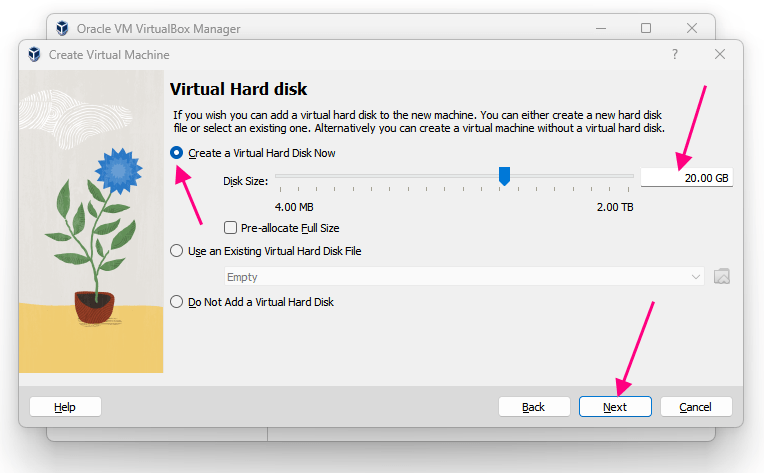
Finally, Click on Finish to complete the configuration
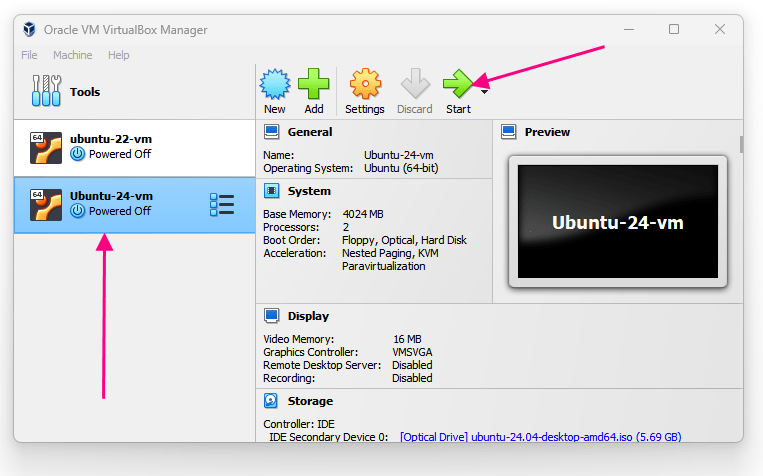
Starting the Ubuntu 24 Virtual Machine
Once the configuration is done then you will see the Virtual Machine Icon on the VirtualBox tool. Click on Start to start the Virtual Machine
First-time installation process for Ubuntu 24
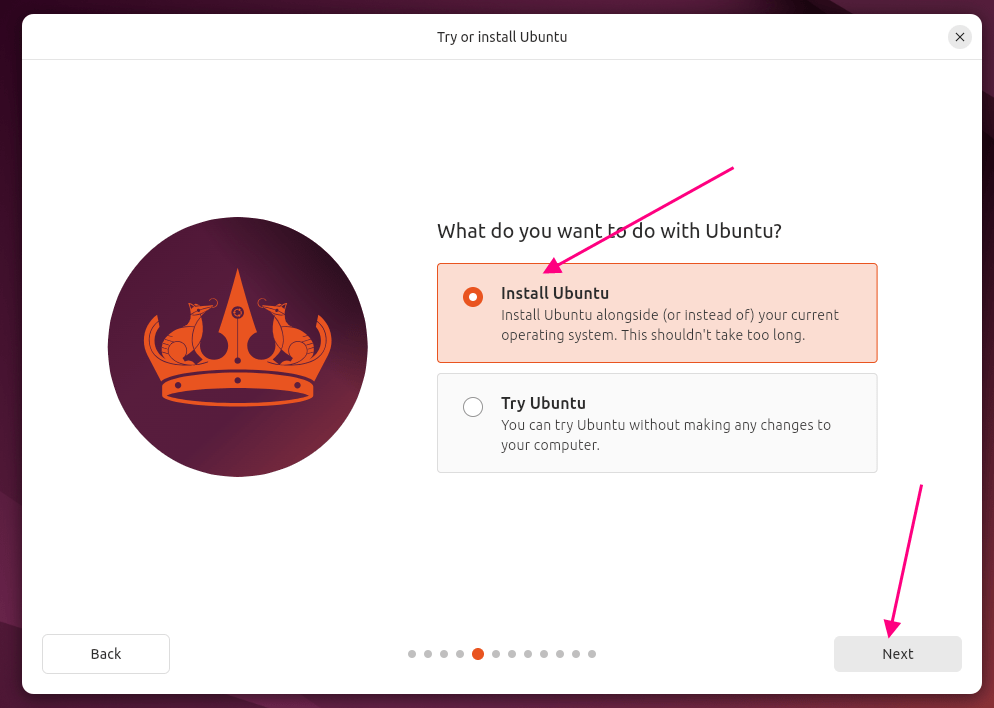
As we are installing the Virtual Machine for the first time we need to follow the installation process.
- Select Install Ubuntu
- Select the Language and Click Next
- Click Next on Accessibility in Ubuntu
- Select Your Keyboard Layout
- Select Do not connect to the Internet and click Next
- Select Install Ubuntu.
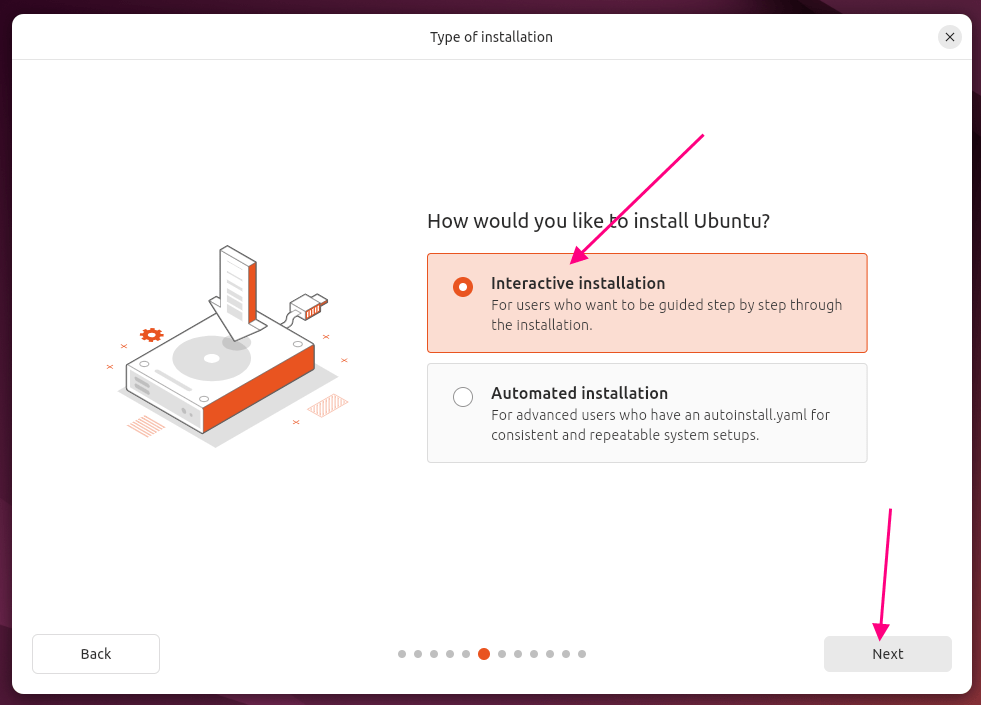
- Select Interactive Installation and Click Next
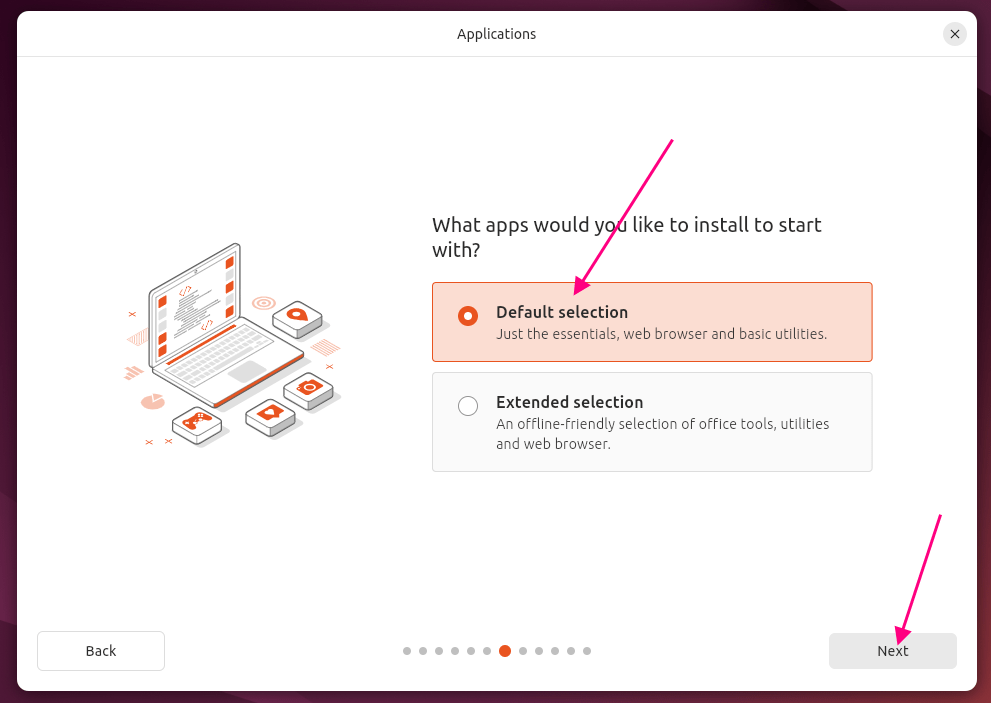
Select Default App Installation
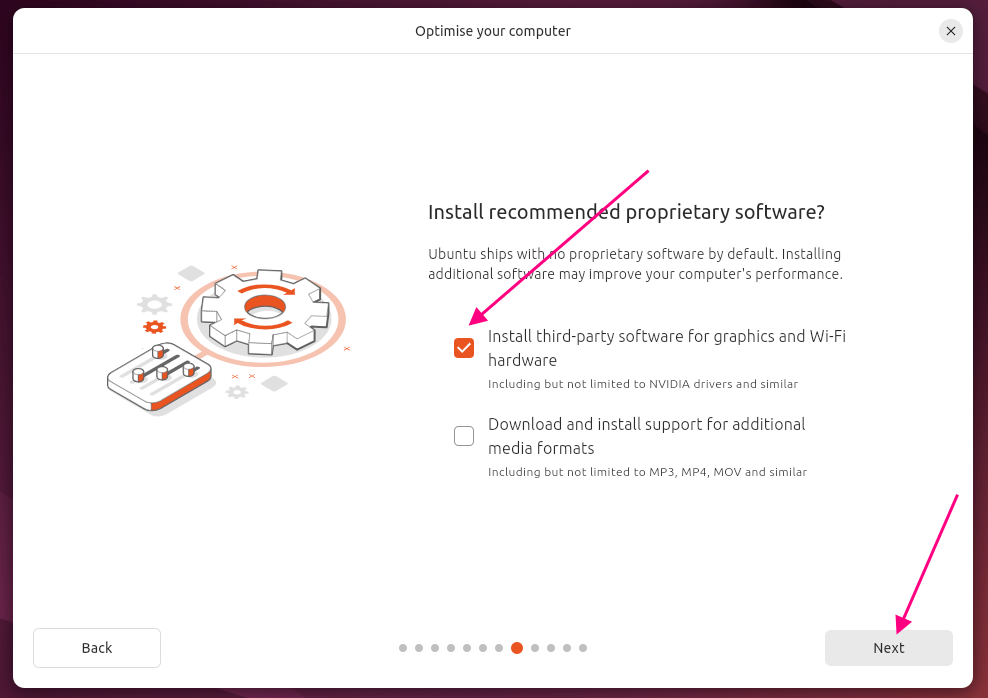
Select Install third-party software for Graphics and WiFI
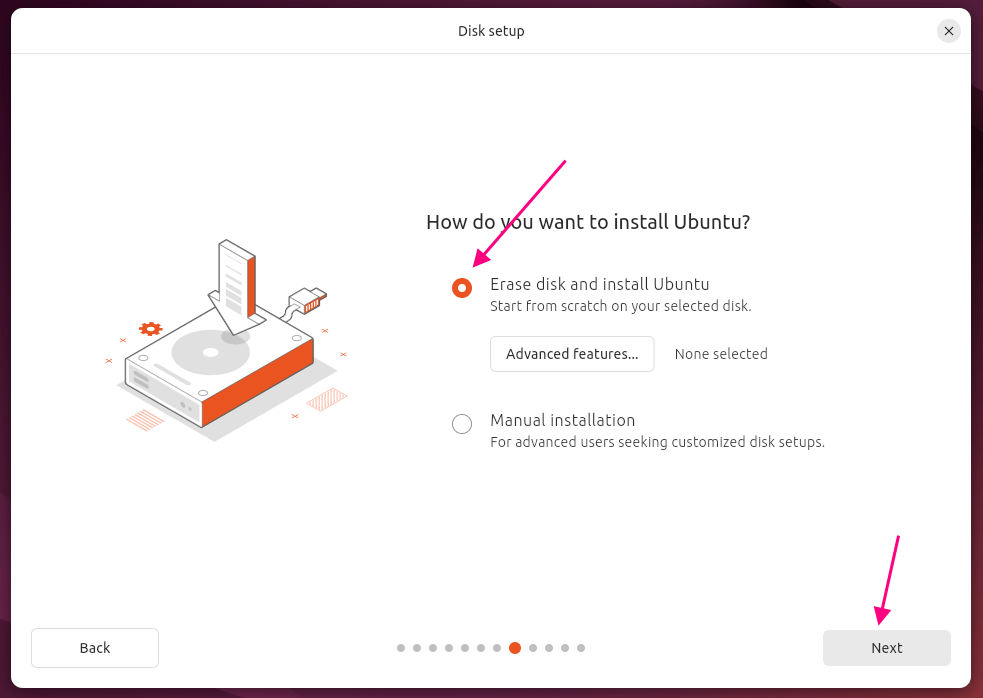
- Select Erase Disk and then Install Ubuntu
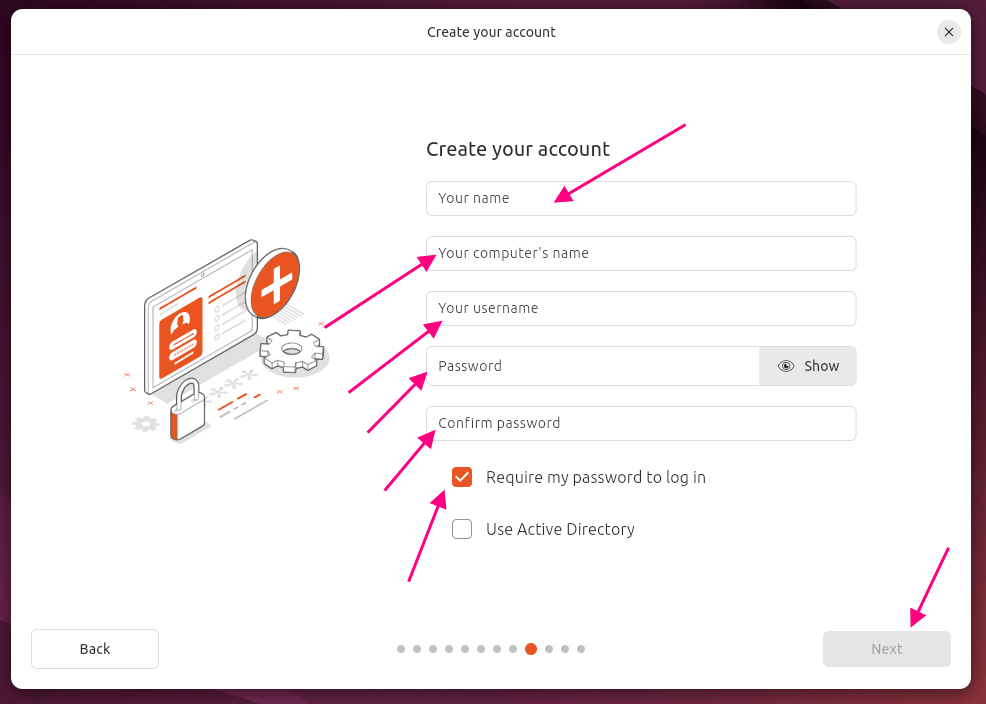
Setup User Credentials for Ubuntu 24
You need to provide the user configuration like username and password that will be used to log in to the Ubuntu Virtual Machine
These configurations are user specific so you can provide whatever you want
Note: Remember the username and password as they will be used later on to Login into the Ubuntu Virtual Machine
After this, select the timezone and then click Install. Once installation is completed you need to restart the Virtual Machine.
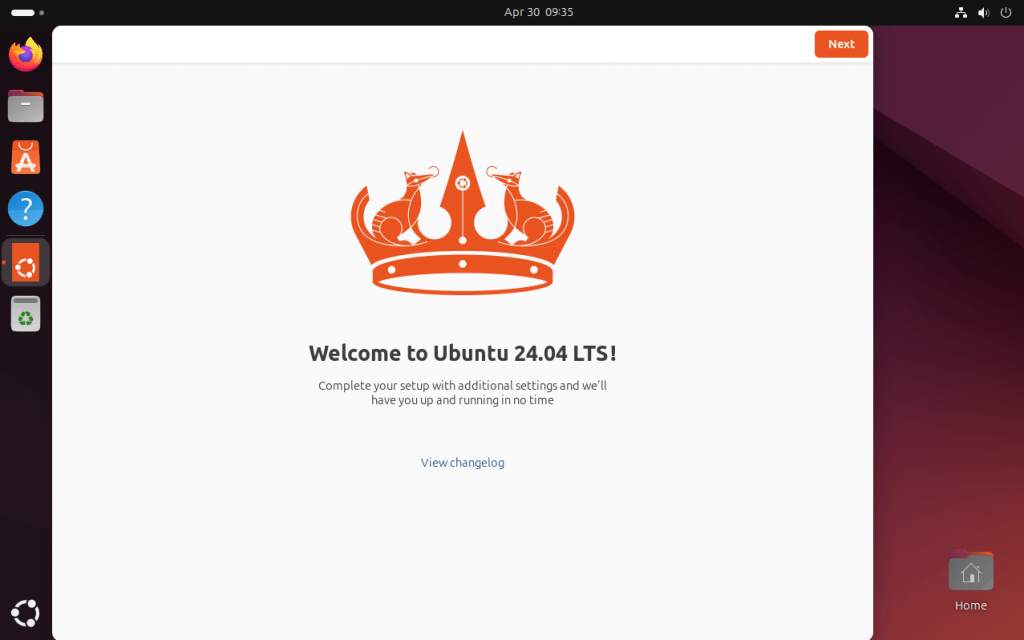
Login to Ubuntu 24 Desktop
Once installation is complete then you will be asked to log in. Enter the username and password that were configured in previous steps and you will be able to log in to a brand new Ubuntu 24 Desktop version