Migrating a WordPress website sounds scary, right? I thought the same especially when my website was running on AWS and costing me around ₹1600/month. But guess what?
I successfully migrated it to Hostinger and now I’m paying just ~₹200/month with better speed and easier management.
In this guide, I’ll walk you through the exact steps I followed, so you can do it too even if you’re a beginner.
Cost Reduced By 90%
- Why I Migrated from AWS to Hostinger
- Pre Migration Checklist
- Step 1: Purchase the Hostinger Plan
- Step 2: Update Everything Before Taking Backup
- Step 3: Export Your WordPress Website (Complete Backup)
- Step 4: Import Website to Hostinger
- Step 5: Authenticating to the new WordPress Website
- Step 6: Test Everything on New website
- Step 7: Connect Domain (DNS Change)
- Copy the TXT value to the existing Domain
- DNS Propagation
- Test the Domain
- Common Errors & Fixes
- Final Result
- References
Why I Migrated from AWS to Hostinger
I was running my WordPress site on AWS, but over time I realized it was overkill for a simple blog. Here’s what pushed me to switch
Problems with AWS
- High monthly cost (~₹1600/month) for a basic website
- Slow performance without heavy optimisation
- Complex setup and maintenance (servers, configs, monitoring)
- Too much DevOps effort for something that should be simple
Why I Chose Hostinger
Hostinger solved all of these problems instantly
- Massive cost reduction (~₹200/month) ~87.5% savings
- Faster performance with LiteSpeed servers and built in caching
- Beginner friendly dashboard no server management needed
- Quick setup WordPress ready in minutes
Cost was the most important factor that persuaded me for choosing the Hostinger
Pre Migration Checklist
Before starting, make sure
- Don’t change DNS yet
- You have WordPress admin access
- You have access to your domain provider
- You have already taken a backup of your WordPress website and also everything is updated on the current website.
- We need this because when we install WordPress on Hostinger then it always installs the latest version
Step 1: Purchase the Hostinger Plan
- Go to the Hostinger website and checkout their plans. The below plans are as on 19th March 2026
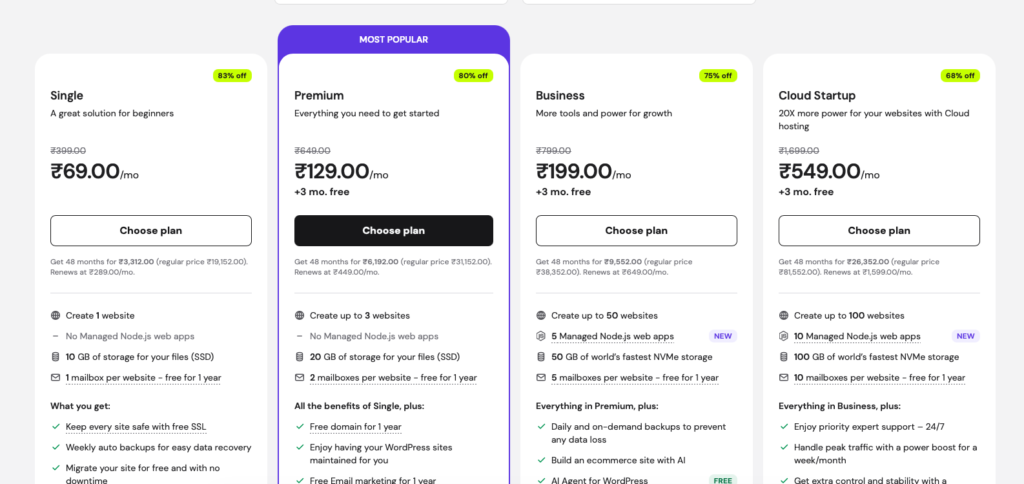
- Choose a hosting plan (I selected the 48-month plan for maximum savings). If you select the longer duration then you will get better discussion
- Complete the payment (credit/debit card works best)
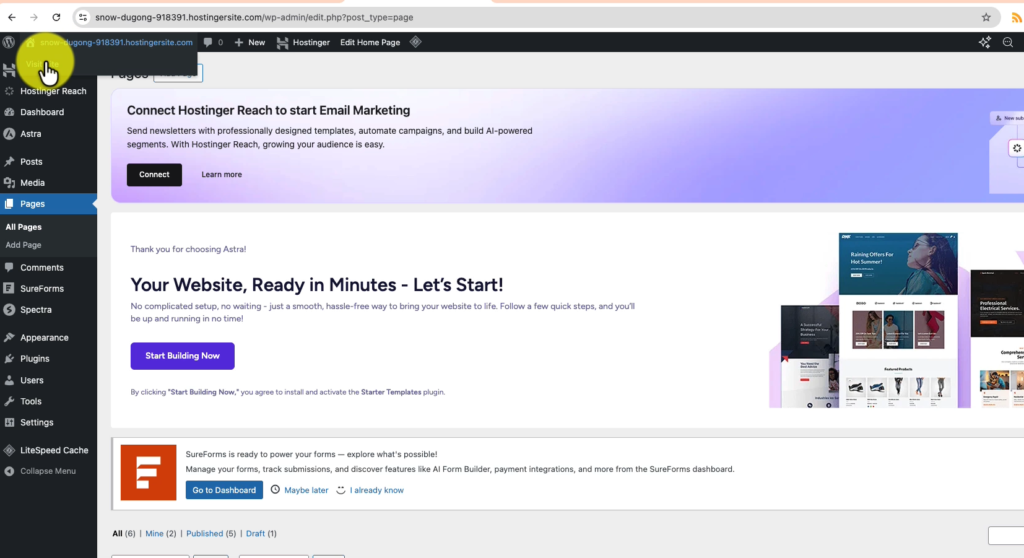
- Login to the Hostinger dashboard (hPanel) and you will see the new website up and running
Step 2: Update Everything Before Taking Backup
Before exporting your website, make sure everything is fully updated. This step is often ignored, but it can save you from many issues after migration.
Why is this important?
When you create a new website on Hostinger
- It uses the latest PHP version
- It installs the latest WordPress version
- Server environment is modern and optimised
If your old website is outdated, it may cause:
- Plugin compatibility issues
- Theme breaking
- White screen errors
- Database conflicts
What should you update?
Before taking backup, go to your WordPress dashboard and update:
- WordPress Core (latest version)
- All Plugins
- Themes
- PHP Version (if possible on AWS)
Step 3: Export Your WordPress Website (Complete Backup)
Before migrating, you need a full backup of your existing website.
Instead of manually downloading files and database, we’ll use a plugin to make this process super simple and error free.
Install the Migration Plugin
- Login to your WordPress Admin Dashboard.
yourdomain.com/wp-admin
- Go to: Plugins → Add New
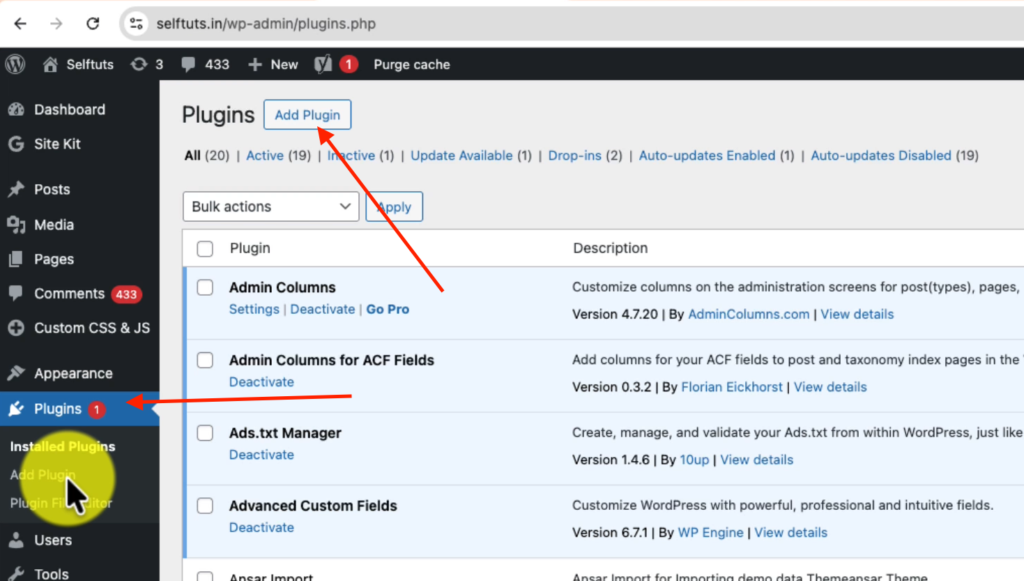
- In the search bar, type: All-in-One WP Migration
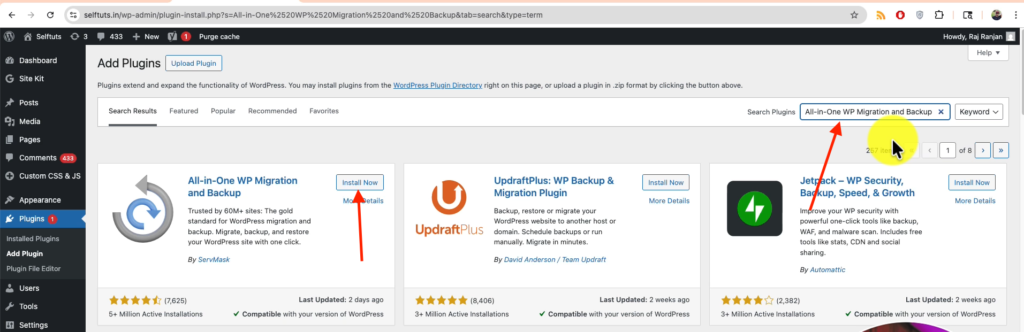
- Click Install Now
- After installation, click Activate
Export Your Website
Once the plugin is activated
- Go to: All-in-One WP Migration → Export
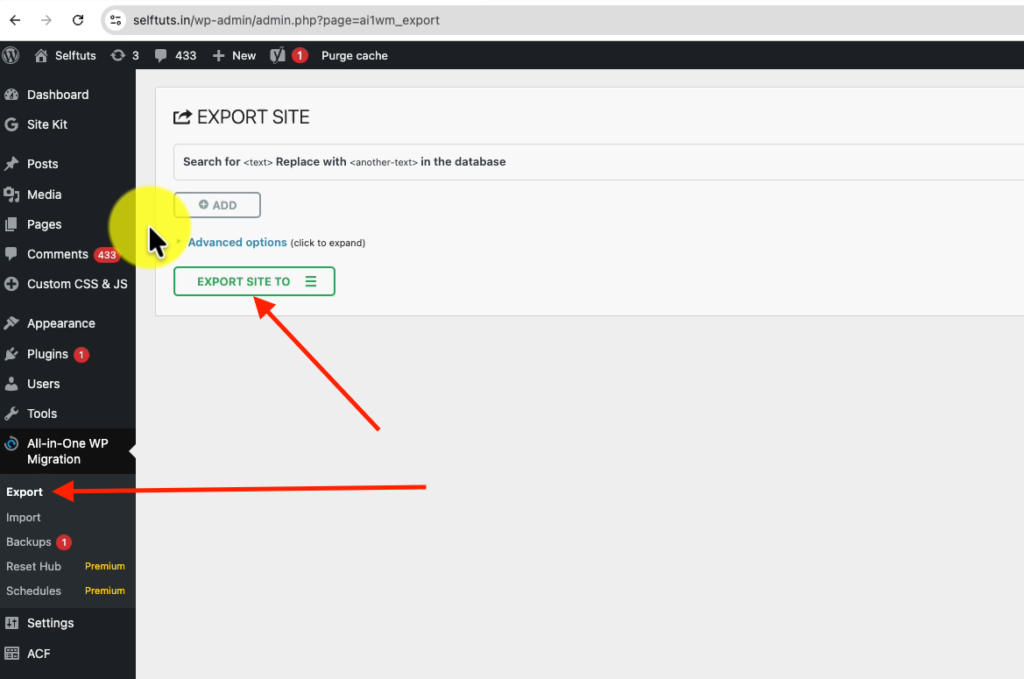
- Click on: Export To → File
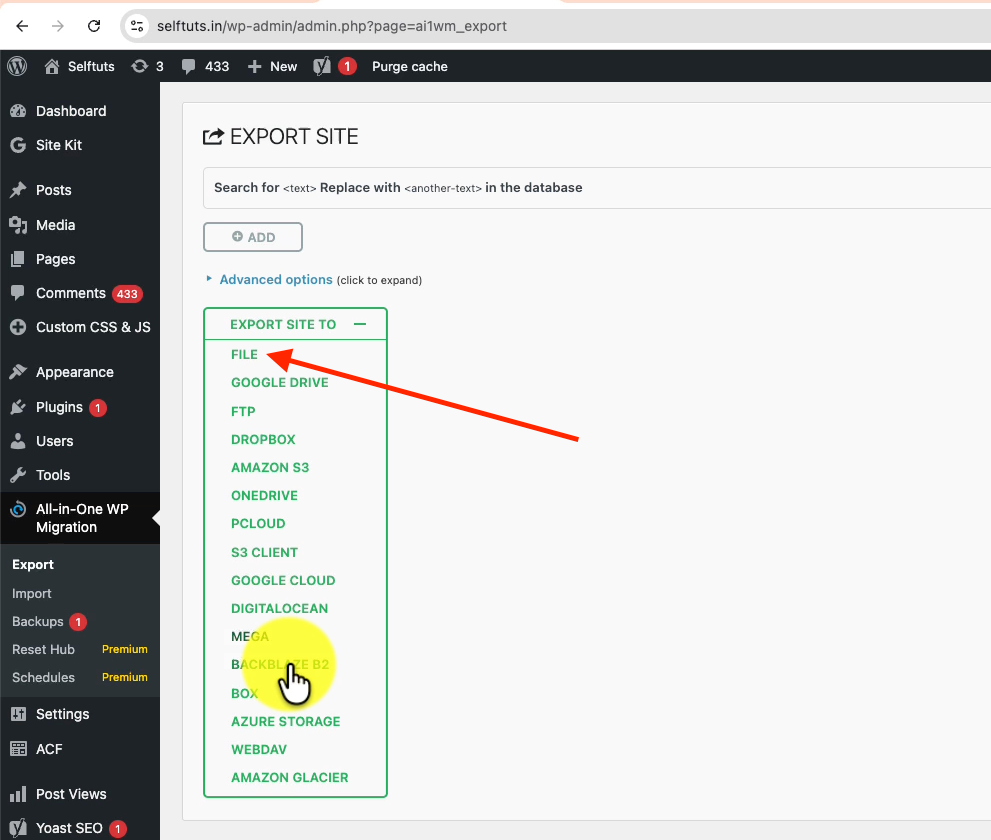
- The plugin will now:
- Collect all your website data
- Compress it into a single file
- Wait for the process to complete (may take a few minutes depending on site size)
- Click Download and save the file on your computer
The file will be in
.wpressformat
What’s Inside the .wpress File?
This is a complete snapshot of your website, including:
- Database (posts, pages, users, settings)
- Themes (design and layout)
- Plugins (all installed tools)
- Media files (images, videos, uploads)
- Configurations (site settings)
In short: Everything needed to recreate your website
Step 4: Import Website to Hostinger
Now comes the magic step 👇
- Login to new WordPress (Hostinger)
- Install All-in-One WP Migration. This step will be same how we did in the previous steps
- Go to Import → File
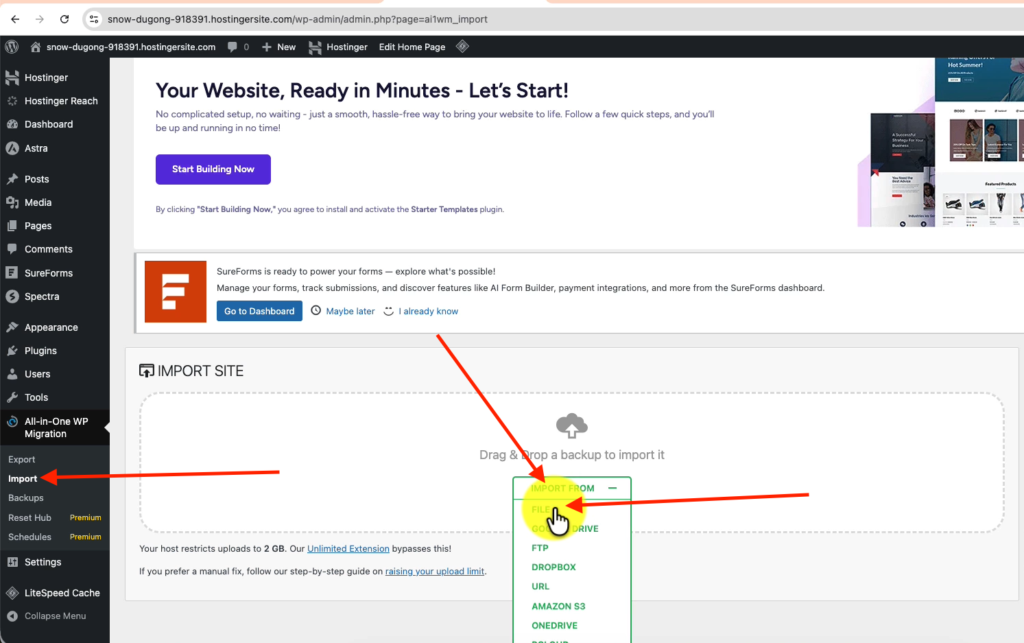
- Upload your
.wpressfile
Replace the new WordPress site completely
Step 5: Authenticating to the new WordPress Website
when you import the .wpress file then it also removes any existing users in the new website and completely overrides them with all the users present in the older website
so you need to use the username and password of the older website to login to your admin panel.
This is very important concept to understand
Step 6: Test Everything on New website
Till this time the new website is not connected to the existing domain so when your clients call the domain then they will still be seeing the older website. Before migrating the domain you need to test everyting
- Homepage
- Blog posts
- Images
- Plugins
- Admin panel
Step 7: Connect Domain (DNS Change)
In My case the domain provider is also Hostinger which means I have purchased the domain from Hostinger only.
Find the TXT value from the new WordPress server
Go to the hosting dashboard of the new website account and view the websites. Click on the connect domain
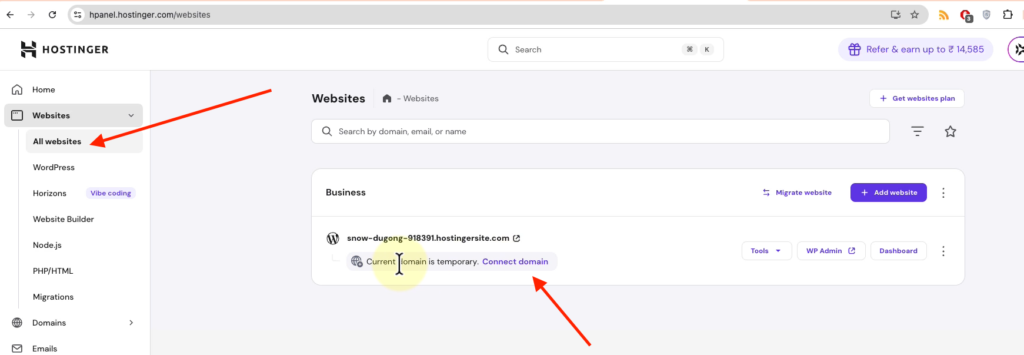
Enter you domain name and then click on the returned result
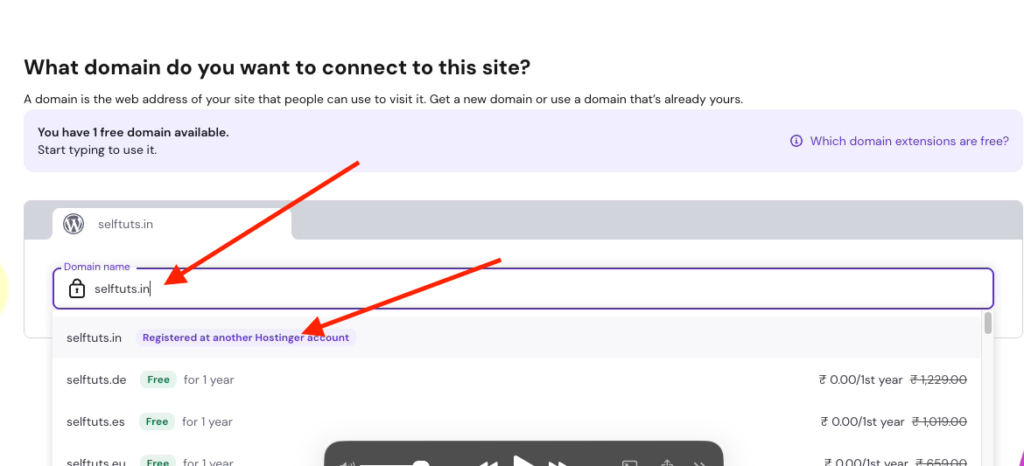
It will ask you to enter a TXT record in the the existing domain. Copy the TXT value because you will need to enter that in the existing domain

Copy the TXT value to the existing Domain
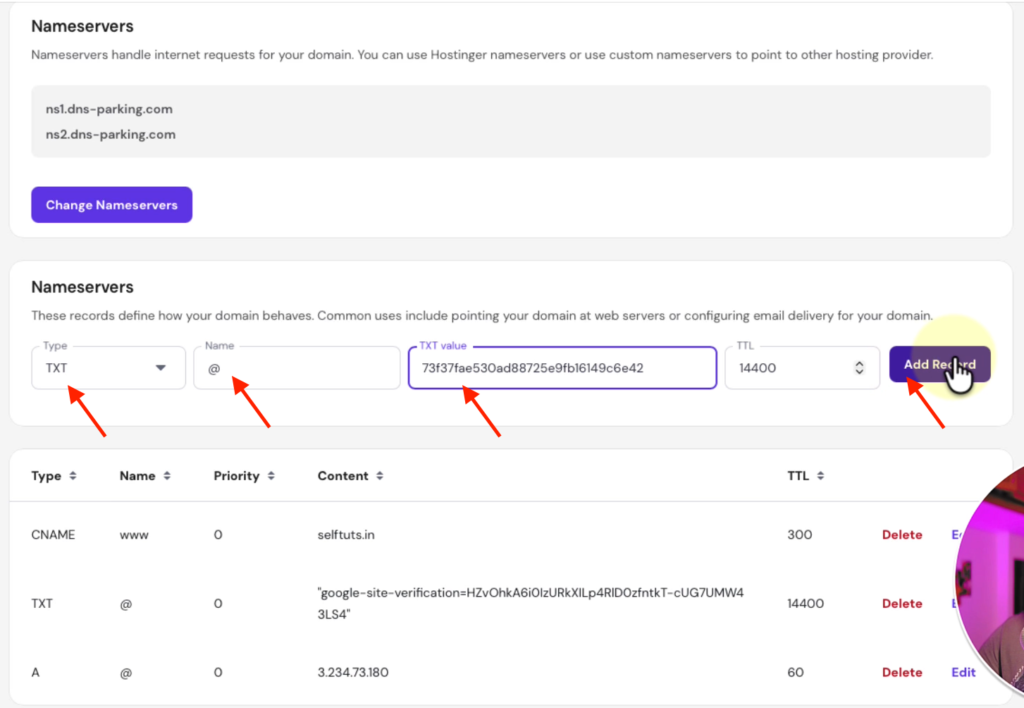
Open the Hostinger account for the existing domain

Click one the three dots shown in the above image and then select Edit DNS Zone and you need to add the value
- Type = TXT
- Name = @
- TXT value = This will be the value copied from the new WordPress website which we did in previous step
- TTL= 14400
DNS Propagation
After changing DNS
- It may take 5 minutes to 24 hours
- You may see old and new site alternately
This is completely normal
Test the Domain
Now open the domain in your website for my case it will be (www.selftuts.in) and it will be served from new hostinger hosting.
Common Errors & Fixes
Upload Limit Error (512MB)
- Use plugin extension OR
- Increase upload limit
Login Not Working
- Use old credentials after import
Images Not Loading
- Clear cache
- Regenerate permalinks
Permalink Issues
- Go to Settings → Permalinks
- Click Save
DNS Not Updated
- Check IP using:
ping yourdomain.com
Final Result
- Cost reduced: ₹1600 → ₹200/month
- Faster website performance
- Easier management